
Reviewed · WORKSHOPS
Sydney Photography Masterclass – Private Photography Lesson
Sydney looks good from almost every angle, but this private lesson helps you make more of those angles. You work with a photographer while moving from Luna Park and the Harbour Bridge to the Opera House, Mrs Macquarie’s Chair, and The Rocks. The aim is not just to collect postcard views. It is to learn why one frame works and another does not.
I like the one-to-four group size, since your guide can adjust the lesson to your camera and skill level. I also like the practical focus on aperture, ISO, shutter speed, composition, and night shooting. The main trade-off is time: three hours goes quickly, especially if you stop often to shoot, review images, and move between harbour viewpoints.
Key points to know before you book
- Private lesson for up to four people: Your group gets the guide’s attention without sharing the session with strangers.
- Glenn can tailor the pace: A recent session worked for two people with different skill levels, including a beginner and a more advanced photographer.
- Night photography is part of the plan: You learn how to handle low light, ferries, city lights, and landmark shots after dark.
- The route covers classic and less obvious Sydney views: Expect harbour icons, back streets, ferry travel on the suggested route, and changing angles around The Rocks.
- You need your own camera: A camera is not supplied, and a tripod is available to rent.
- The price rewards shared booking: At $186.48 per person, the lesson makes better financial sense when two to four people book together, especially with group discounts available.
What this Sydney photography lesson really teaches
This is not a sightseeing walk with a few casual camera tips added on. The three-hour session is built around making pictures, then understanding why they succeed or fail.
You cover the exposure triangle: aperture, ISO, and shutter speed. That sounds basic, but these controls become much easier to understand when you use them beside the Harbour Bridge, on a moving ferry, or as the Opera House lights begin to show against the evening sky.
Aperture affects how much of the image appears sharp and how much light reaches the sensor. ISO helps you work in darker conditions, though higher settings can affect image quality. Shutter speed controls motion, which matters when a ferry passes through the frame or when you want a sharper image in fading light.
The guide also works on composition. You learn what to include, what to leave out, and how your position changes the picture. That last point is easy to underestimate. A few steps can change the relationship between a foreground railing, the Opera House sails, and the Harbour Bridge behind them.
The lesson includes photography review, so you are not simply collecting tips and hoping they stick. You can look at your images with the guide and discuss what worked. That makes the session useful for people who want to move beyond automatic mode and start making deliberate choices.
More photo sessions in Sydney:
- Sydney: Private Photoshoot outside the Opera House
★ 4.6 · 40 reviews - Sydney Photography Course in the Historic Rocks Area
★ 5.0 · 35 reviews - Photoshoot in stunning locations! (sydney)
★ 5.0 · 26 reviews
Starting at Milsons Point and McMahons Point
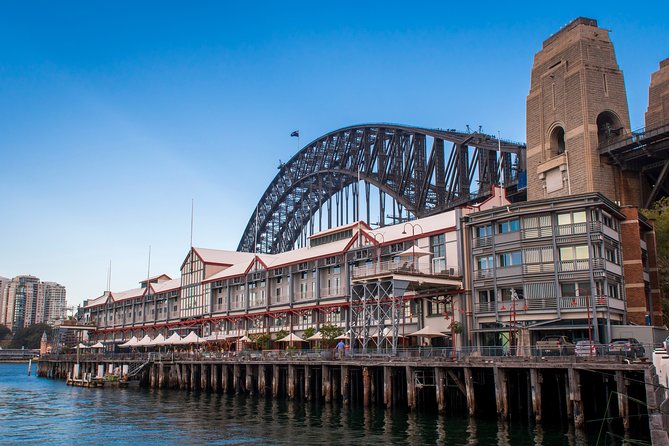
The meeting point is at 41 Broughton Street in Kirribilli. From there, the suggested route begins around Milsons Point, where you can photograph Luna Park, the Harbour Bridge, and the harbour from the north side.
Milsons Point gives you strong subjects right away. Luna Park offers colorful amusement-park details and a playful contrast with the steel bridge. The Harbour Bridge gives you scale, lines, and structure. These are useful subjects for learning framing because they are familiar, yet they can look very different depending on your height, lens, and position.
McMahons Point adds another change of view. Instead of photographing the bridge from directly beneath or beside it, you get a different relationship between the water, the skyline, and the bridge structure. Your guide can help you decide what deserves the main role in the frame.
The two locations also make a useful early lesson in perspective. A landmark does not need to fill the picture to be recognizable. Sometimes a little more sky or water gives the subject room to breathe. Other times, cutting into the structure makes a stronger graphic image.
Luna Park and the Harbour Bridge after dark
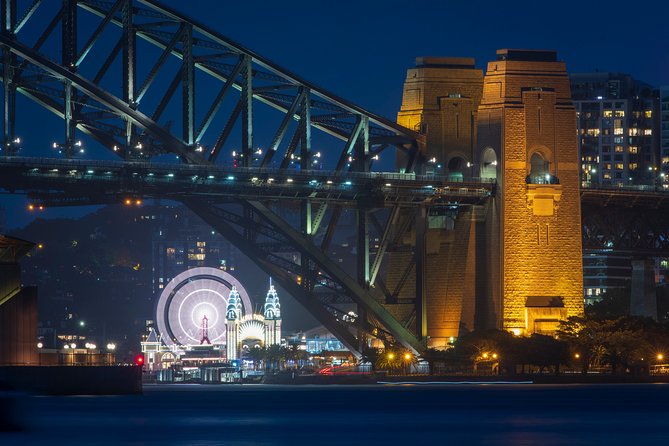
Luna Park is more than a quick photo stop. Its amusement-park setting gives you shapes, lights, and details that contrast with Sydney’s grand architecture. It is a good place to practice looking for smaller images instead of automatically pointing at the biggest landmark.
The Harbour Bridge brings a different set of problems. Its dark steel structure can turn into a large block if you expose only for bright city lights. If you expose for the bridge, the sky or illuminated buildings may lose detail. This is exactly the sort of real-world trade-off that makes the exposure lesson useful.
Night photography adds another layer. You need to think about shutter speed, camera movement, available light, and the balance between bright highlights and dark areas. The guide can show you how different settings change the result rather than simply handing you one setting and moving on.
A tripod is available to rent, but it is not included. That matters if you want long exposures or plan to work seriously after sunset. Ask about the rental when booking, since the supplied details do not state the cost or availability for your specific date.
From the north shore to Circular Quay
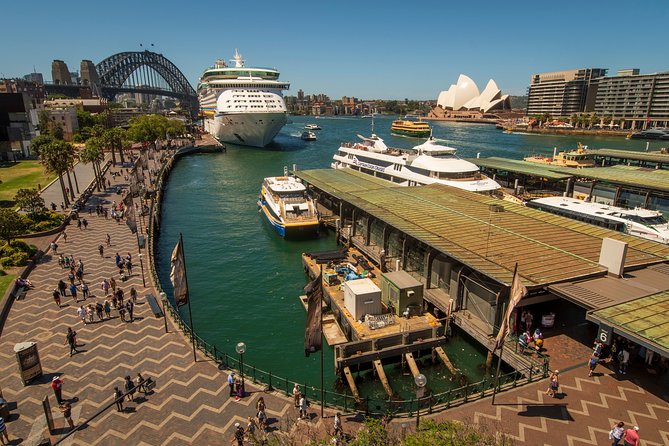
The suggested route includes catching a ferry to Circular Quay. That adds movement to the lesson and gives you a chance to photograph Sydney from the water instead of from a fixed viewpoint.
A ferry ride also creates timing challenges. The boat moves, the light changes, and other passengers or harbour objects may enter the frame. Those limits are useful. You learn to prepare before the moment arrives, keep your camera ready, and make quick decisions.
The itinerary also lists Hickson Road Reserve and the Cahill Expressway. These stops offer different positions around the harbour. Hickson Road Reserve can help you work with open harbour views and strong architectural subjects, while the Cahill Expressway area gives you another elevated or structured viewpoint, depending on the exact route used that evening.
The precise order may change. The tour description says your private group can go anywhere in Sydney that suits your interests, with the listed route offered as one suggestion. If you care more about architecture, street scenes, or night lights than amusement-park images, discuss that with the guide at the start.
A few more Sydney options to put side by side
- Private photo tour at Sydney’s most iconic locations
★ 4.9 · 12 reviews - Professional Photoshoot at Opera House
★ 3.5 · 10 reviews - Private Sydney Harbour Sunset Photo Tour & Cruise
★ 5.0 · 7 reviews - Private Pro Photography- Sydney -price per group of 4
★ 5.0 · 7 reviews
Photographing the Opera House and Mrs Macquarie’s Chair
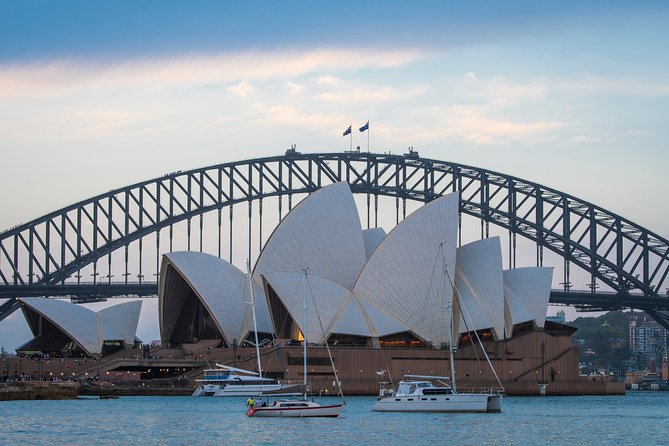
The Opera House is the obvious target, but obvious subjects are not always easy to photograph well. Its white sails can dominate a frame, especially near dusk or under artificial light. You need to watch exposure and decide how much harbour, sky, bridge, or surrounding structure belongs in the picture.
At the Opera House, your guide can help you refine the classic image instead of simply repeating it. You might work on symmetry, reflections, lines, or a tighter detail. The supplied tour information does not promise a set number of photo stops or a specific shooting angle, so think of this as guided practice rather than a fixed photo checklist.
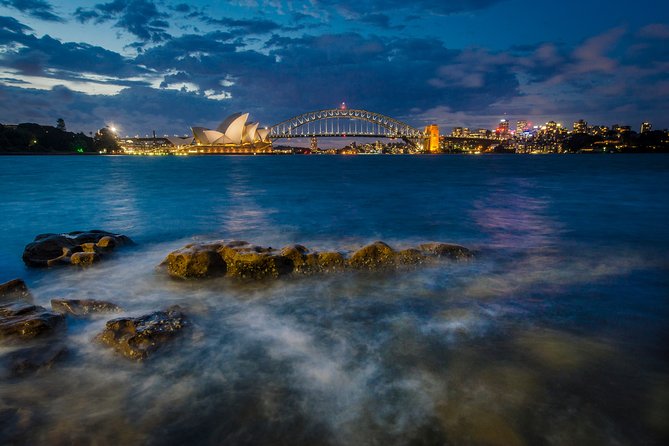
Mrs Macquarie’s Chair is another major viewpoint. It is well suited to wide scenes that bring the Opera House and Harbour Bridge into the same picture. That makes it a helpful place to discuss balance. Two famous buildings can compete with each other unless you give one a clear role and use the other as support.
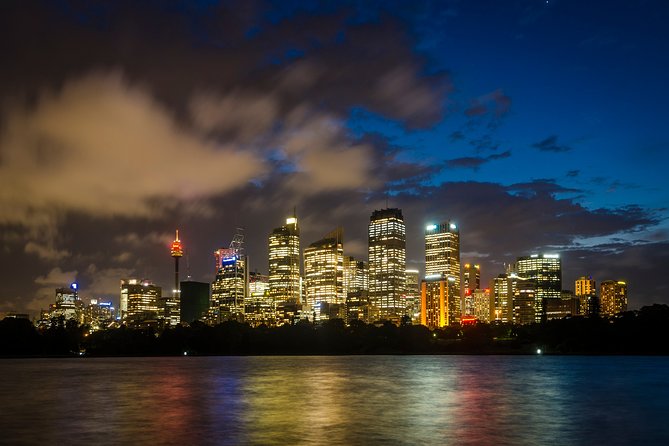
After sunset, the harbour lights become part of the subject. Night photography here is not just about making the scene bright. You are learning how to keep the city lights controlled while retaining mood and detail in the darker water and sky.
The Rocks and Circular Quay on foot
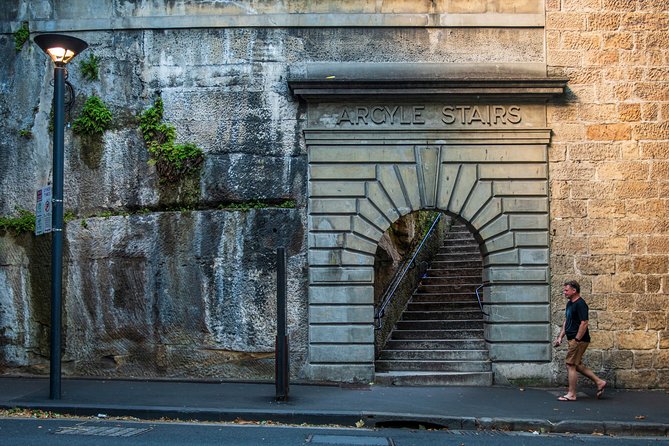
The route turns inward at The Rocks, where the lesson shifts from grand views to street photography. The back streets give you different material: details, textures, buildings, and changing lines. This is where composition advice can become more personal, since there may be no single landmark telling you what to photograph.
The guide can help you decide how close to get, where to stand, and what to remove from the frame. Those choices often matter more than expensive equipment. The session is designed to encourage photographic development, so you are not limited to tourist landmarks.
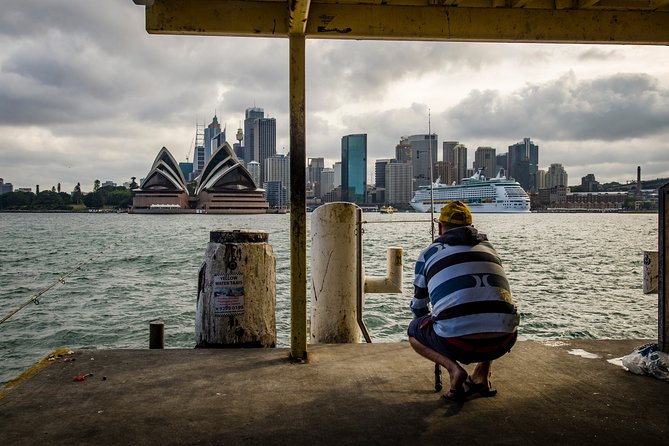
Circular Quay completes the suggested route. It places you among some of Sydney’s strongest visual subjects, but it can also be a busy area. That is part of the challenge. You may need to wait for a clear view, work around people, or use passing movement as part of the image.
The activity ends back at the meeting point rather than at Circular Quay. Plan your evening around that return, especially if you have dinner or another booking afterward. The tour description suggests having something to eat before continuing toward the evening portion, but food is not listed as included.
Why a private group changes the lesson
The private format is the strongest feature here. Only your group participates, with a maximum of four people. That lets you ask questions without holding up a larger class, and it gives the guide room to adapt the route.
This matters even more when people have different abilities. Glenn is named in the supplied feedback, and one session was adjusted successfully for two people working at different levels. That suggests the teaching is not locked to a single beginner script.
You can ask for help with your own camera rather than learning only general theory. You can also spend more time on the subjects that matter to you. One person may want manual-mode practice, while another may care about composition or night images.
The private setup has a limit, too. It works best when your group agrees on its goals. Four people with very different interests may need to compromise. Talk through the plan at the beginning so the three hours do not disappear while everyone decides what to photograph next.
The price and the value of three hours
The listed price is $186.48 per person. That is not a cheap sightseeing outing, but this is a private lesson with a professional photographer guide, local guiding, tuition, and image review.
The value depends on how you use it. If you are already serious about photography, one focused session can help you fix a specific problem, such as using manual exposure at night or composing city scenes. If you are new to camera controls, the exposure triangle and hands-on examples can give you a clearer starting point than reading settings in a manual.
The price becomes easier to justify when shared by a couple, family, or small group that wants the same experience. Group discounts are available, though the supplied details do not state the exact discount. A solo photographer pays for the full private attention, so decide in advance what you want to learn.
The three-hour length is both a benefit and a limit. It is long enough to cover camera settings, composition, night techniques, and a review. It is not long enough to explore every corner of Sydney or spend many minutes at every stop. Keep your expectations focused on learning and making a useful set of images.
Who should bring this lesson into a Sydney trip
I would recommend it to photographers who want practical guidance rather than a standard city tour. It suits people moving from automatic mode toward manual control, and it works well for mixed-ability pairs because the guide can adjust the level.
It is also a good fit if you want Sydney photographs after dark. The route gives you chances to work with landmarks, water, ferries, street scenes, and city lights. Those subjects test different camera skills within one evening.
Bring your own camera. A camera is not included, and the listing does not say that a phone-only lesson is available. If you want to use a tripod, one can be rented, but confirm the arrangement before the session.
The activity is near public transportation, and most people can participate. It is not described as a strenuous walk, but you should expect to move between several Sydney locations over about three hours. Wear something suitable for an evening spent outdoors and moving around the harbour area.
You receive confirmation at booking, and mobile tickets are supported. Free cancellation is available if you cancel at least 24 hours before the start time. Changes or cancellations inside that window are not accepted for a refund.
Should you book the Sydney Photography Masterclass?
Book it if you want to learn while photographing real Sydney subjects, especially if night photography and manual camera settings are high on your list. The private format, adaptable teaching, and mix of harbour icons and The Rocks make it more useful than a simple photo walk.
Think twice if you only want a quick set of personal portraits or a sightseeing tour with no technical instruction. The value comes from taking part, asking questions, changing settings, and reviewing your images.
For a couple or small group with a shared interest, this is a sensible way to turn famous views into a hands-on photography lesson. For a solo photographer, book it only if you will use the private attention well. Arrive with a goal, such as learning night exposure or improving composition, and the three hours should feel purposeful rather than rushed.
FAQ
How long does the Sydney Photography Masterclass last?
The lesson lasts approximately three hours.
How many people can join the private tour?
Your private group can include up to four people in total.
Where does the experience start?
The meeting point is 41 Broughton Street, Kirribilli, New South Wales 2061, Australia.
Where does the activity end?
The activity ends back at the meeting point.
Is a camera included?
No. You need to bring your own camera.
Can I rent a tripod?
Yes. A tripod is available to rent, though the supplied details do not state the rental price.
What happens if I need to cancel?
You can receive a full refund if you cancel at least 24 hours before the experience start time. Cancellations and changes made less than 24 hours before the start time are not accepted.
Newest Sydney write-ups
- Sydney: “Vivid Sydney” Festival of Light Sightseeing Cruise★ 4.3 · 24 reviews
- Private Transfer from Sydney Airport to Sydney (CBD)Hotel or Port★ 4.5 · 24 reviews
- Sunset Harbour Bridge Kayak Escape★ 5.0 · 8 reviews
- Whale Watching Sailing Experience in Sydney★ 5.0 · 28 reviews
- Wine Tours Sydney – Southern Highlands Day Escape, Full Day Wine Tasting Tour★ 5.0 · 9 reviews
- Private Wildlife Waterfalls and Wine Day Tour from Sydney★ 5.0 · 6 reviews
- Whale Watching Sydney★ 3.5 · 17 reviews
- Sydney Harbour Tall Ship Whale & Sail – Whale Watching Cruise★ 5.0 · 5 reviews
Workshops, compared.
Mosaic Art Classes Sydney: Turkish Lamp Workshop
Read our review →
Paint and Sip Classes Sydney: Ceramic Plates & Bowls
Read our review →
Paint and Sip Classes Sydney: Acrylic Art, Canvas & Wine
Read our review →
Resin Art Classes Sydney: Cheeseboards & Coasters
Read our review →
Browse the lists this tour appears in